<Prathamesh/>
Learn Django Starter with models
18 Jul 2020 5 min read

This is my first post on Dev.to. I'm trying out new things, and I came acress django and the setup seemed bit confusing so I am making this tutorial/blog for the same topic.
This basic starter for django I have gone through the steps of creating a project and app for future reference. This is a django application for saving employee information and rendering it to the webpage.
Pre-requisites software to be installed:
- Python
- Django
Django installation:
➜ python -m pip install DjangoSteps for creating the same app:
1. Creating new site
➜ django-admin startproject employee_site2. Creating new app
➜ django-admin startapp employees- ❗️ In the whole doc I will be referring employee_site as site and employees as app
- ❗️ In the shell commands I have used python3 since I have a linux OS. If you are using windows use python instead of python3
3. Creating new view
Add new view in views.py of app Create urls.py file in "app" directory Copy paste the following code in view.py
from django.shortcuts import render
from django.http import HttpResponse

# Create your views here.
def employees_page(request):
   return HttpResponse('Hello World')
Add the url for view in urls.py
from django.urls import path
from .import  views
urlpatterns = [
	path('',views.employees_page, name="employees")
]
Go to urls.py in "site" and add new path to the app using include method.
from django.contrib import admin
from django.urls import path,include

urlpatterns = [
    path('admin/', admin.site.urls),
    path('employees/', include("employees.urls")),
]
Now add your app name in settings.py inside the site
INSTALLED_APPS = [
    'exmployees',
    'django.contrib.admin',
....
Now we can go the url mentioned in the app we can see the response added in views.py
http:/employees/4. Adding models
Go to models.py in "app" and create new model:
from django.db import models

# Create your models here.
class employees_db(models.Model):
	emp_id = models.AutoField
	firstName = models.CharField(max_length=30)
	lastName = models.CharField(max_length=30)
	dept = models.CharField(max_length=30)
	salary = models.IntegerField()

	def __str__(self):
	 return self.firstName
For adding the model inside to the site we have to add the appConfig inside the site's settings.py
For copying the config first go to apps.py in "app" copy the "AppNameConfig" in our example it is EmployeesConfig. It wil be created automatically.
from django.apps import AppConfig


class EmployeesConfig(AppConfig):
    name = 'employees'
Now go to settings.py in site and go to installed apps list and add "appName.apps.AppNameConfig" in our example it is EmployeesConfig.
INSTALLED_APPS = [
    'employees.apps.EmployeesConfig',
    'django.contrib.admin',
    ...
]
Go to terminal and update the migrations and migrate. Make sure you are in the same directory as manage.py
➜ python3 manage.py makemigrations
➜ python3 manage.py migrate
Now our models are added to the database.
5. Accessing the admin panel
First we have to create a new super user
➜ python3 manage.py createsuperuserAdd the appropriate info and password And Run server again
➜ python3 manage.py runserverGo to /admin page and add the admin name and password
http://localhost:8000/admin6. Registering the models
In order to use the models we have to register it
For doing that go to admin.py in app
Import our newly created model
Register the model Code :
from django.contrib import admin
from .models import employees_db

# Register your models here.
admin.site.register(employees_db)
Restart the server We can check the models filed in our admin panel now
7. Creating templates and adding it to views
Create new folder named "templates" in app directory and add new html file
➜ mkdir templates
➜ touch index.html
Now go to views.py in our app and add return statement which renders our html page in templates
return render(request, 'index.html',dbData)8. Fetching the data from models
First go to admin page:
http://localhost:8000/adminNow you can see that employees_db has been created we can click on it and add new employees
Once it is done go to view.py in app
Now first we will import our model which is employees_db and then store the db data to one variable and pass that data to the template as a third parameter.
Code:
from django.shortcuts import render
from django.http import HttpResponse
from employees.models import employees_db

# Create your views here.
def employees_page(request):

	# fetching data from models
	dbData = {"data" : employees_db.objects.all()}

	return render(request, 'index.html',dbData)
Now we can access data from Database through dbData variable.
9. Rendering data to templates
Go to templates/ and open index.html
We can use the data key passed in the dbData object/dictionary.
We loop over it and render the values of attributes for eg. emp.firstName will give us firstName value.
<div class="container-style">
  {% for emp in data %}
  <div class="emp-card">
    <p class="id"><b>ID:</b> {{emp.id}}</p>
    <p class="name"><b>Name:</b> {{emp.firstName}} {{emp.lastName}}</p>
    <p class="dept"><b>Dept:</b> {{emp.dept}}</p>
    <p class="salary"><b>Salary:</b> $ {{emp.salary}}</p>
  </div>
  {% endfor %}
</div>
You can add the optional styling which is included in my index.html page.
🥳 Our app is now completed 🎉
For running the app:
python3 manage.py runserverCheck the employees page. For checking go to the following link:
http://localhost:8000/employees/In the end our site will something like this:
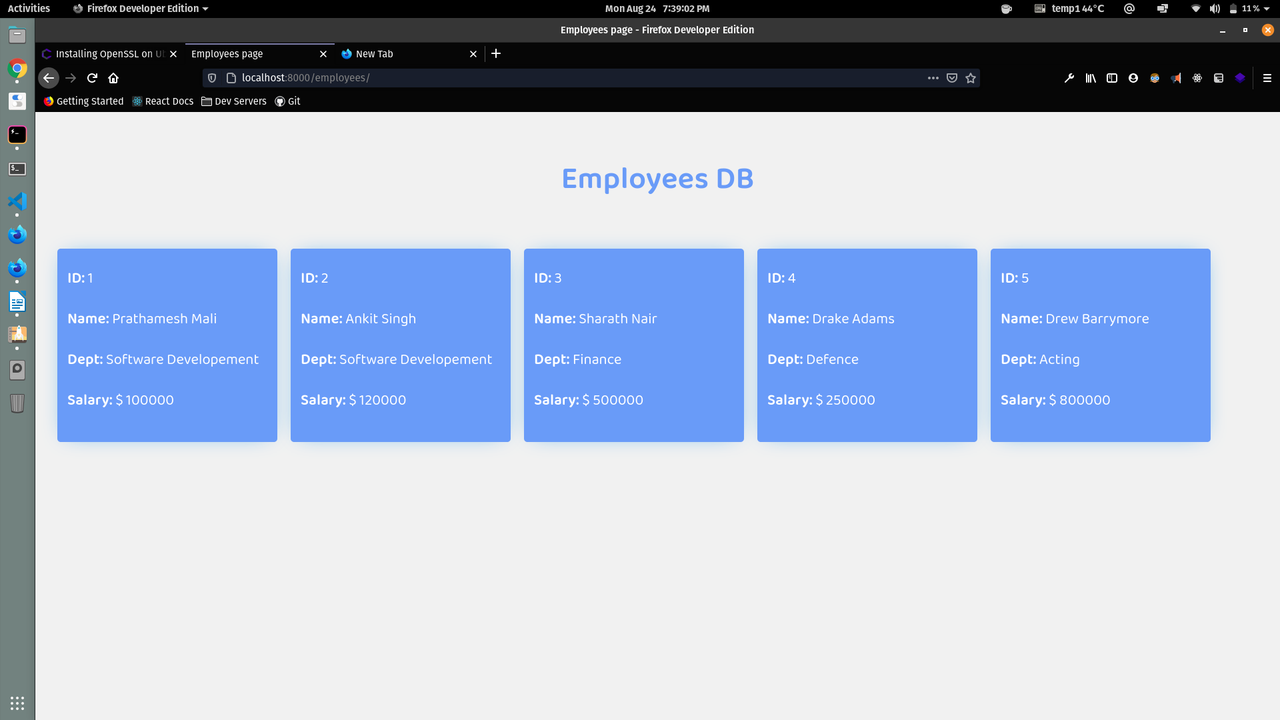
Conclusion
So far we have learned have learned how to create a project and app in django and create models. We also learned how to create an admin and add new properties to the models, then rendering the properties to our html page.
Feel free to fork my repo tinker around with it 😄
Checkout the github repo here